


Did you know that the format of your .JPG photo files on your website will affect your user experience, page load time, and ultimately, search engine optimization (SEO)? 💻
The faster your page loads, the better for both your users and search engine discovery. This whole topic could be an entire class, so today I’m just going to share some general rules of thumb for optimizing images for your website!
1. Make sure your images are 2048px wide
If I know I’ll be using pictures for my website, but I’m not yet sure where they’ll go, I will default to resizing my images to be 2048px wide. This is a generally acceptable size that will look great on most computer monitors and phone screens.
If you know exactly where you’ll be putting an image, then you should size it for that area. If I need a headshot for my about page, then I’ll figure out the pixel size of the placeholder and resize my image to fit.
If you aren’t sure how to figure out the placeholder size, your web designer should be able to do this for you. Otherwise, just stick to the 2048px rule and avoid the headache!
2. Make sure your images have a 72dpi resolution

For the web, your images should have a resolution of 72dpi, as opposed to printed photos which generally require 240dpi or higher. DPI stands for “dots per inch.” You can basically think of this setting as a control for how grainy or blurry your photos are.
By reducing the dpi to 72, you’ll reduce the file size greatly which will help with page load times.
3. Make sure your images are less than 1MB in file size

Any image above 1MB is generally too large. This will affect your page load time. Imagine a user stumbles upon your website, but then has to wait more than 3 seconds (yup, 3, because we have short attention spans) for the images to load.
They probably aren’t going to wait, and they’ll just leave instead. Who wants that?!
4. Use relevant titles in your images

No more naming your images “IMG_925597.JPG”! This is bad for SEO. If you’re using a picture of yourself for your about page, title it something like “My name – my business in location.jpg.” Here is how I would name my own about page image: “Emily Huynh – Branding photographer in the San Francisco Bay Area.jpg.” The more descriptive you can be, the better!
5. Use alt tags in your images

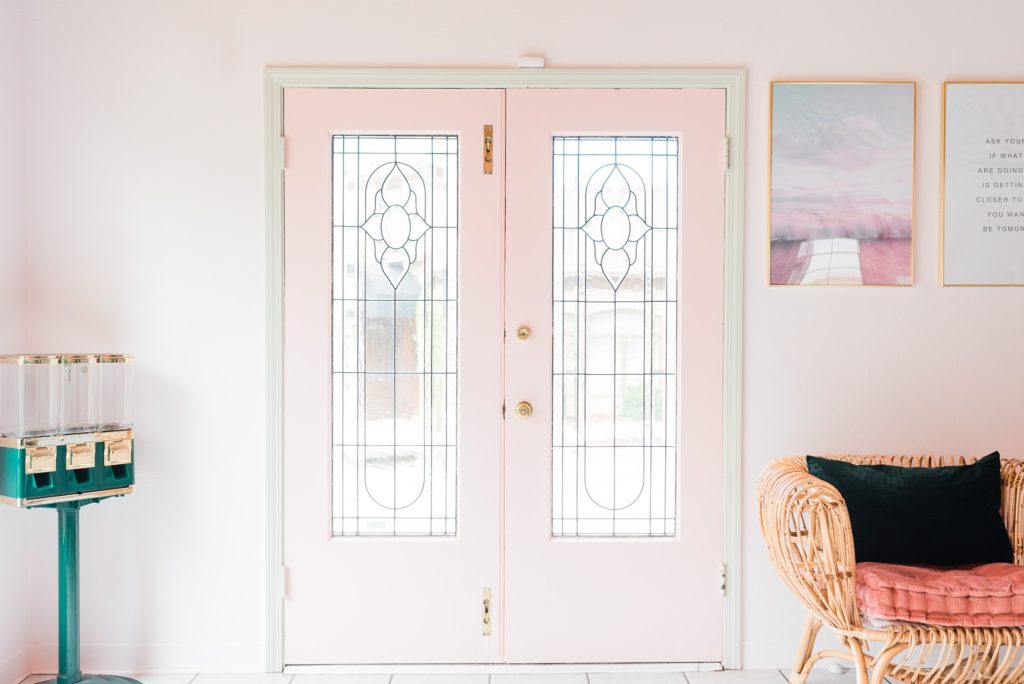
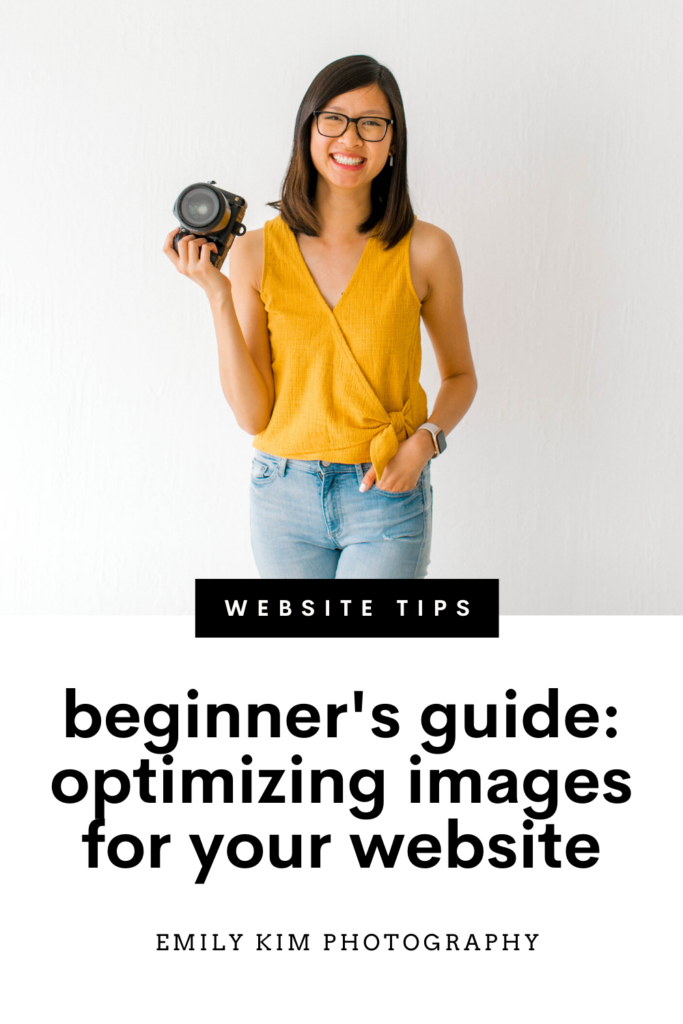
Alt tags are short phrases that describe the contents of your photo. If someone is viewing your website using an assistive reader, this is the text that is read to them! DON’T stuff this with keywords and actually use it the way it is supposed to be used. In the above photo, I’d create an alt tag like “woman sitting in front of fountain on her computer.”
Tools
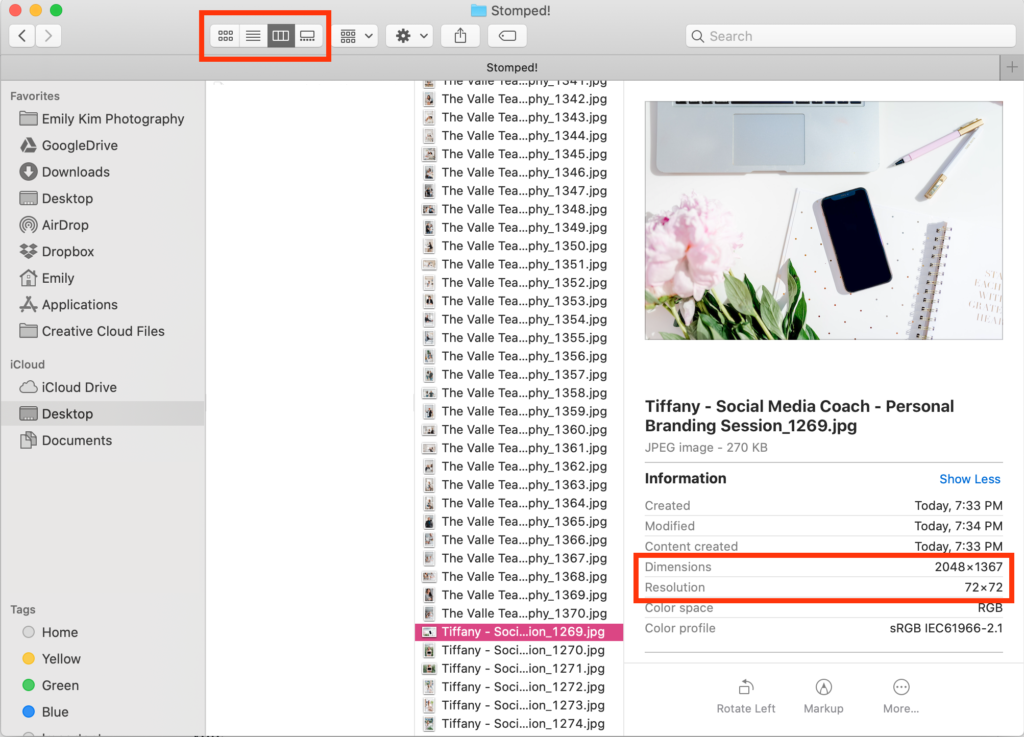
If you have a Mac computer, you can find all of this info in Finder.
You can also use the Preview app in macOS to adjust the size and resolution of your image:
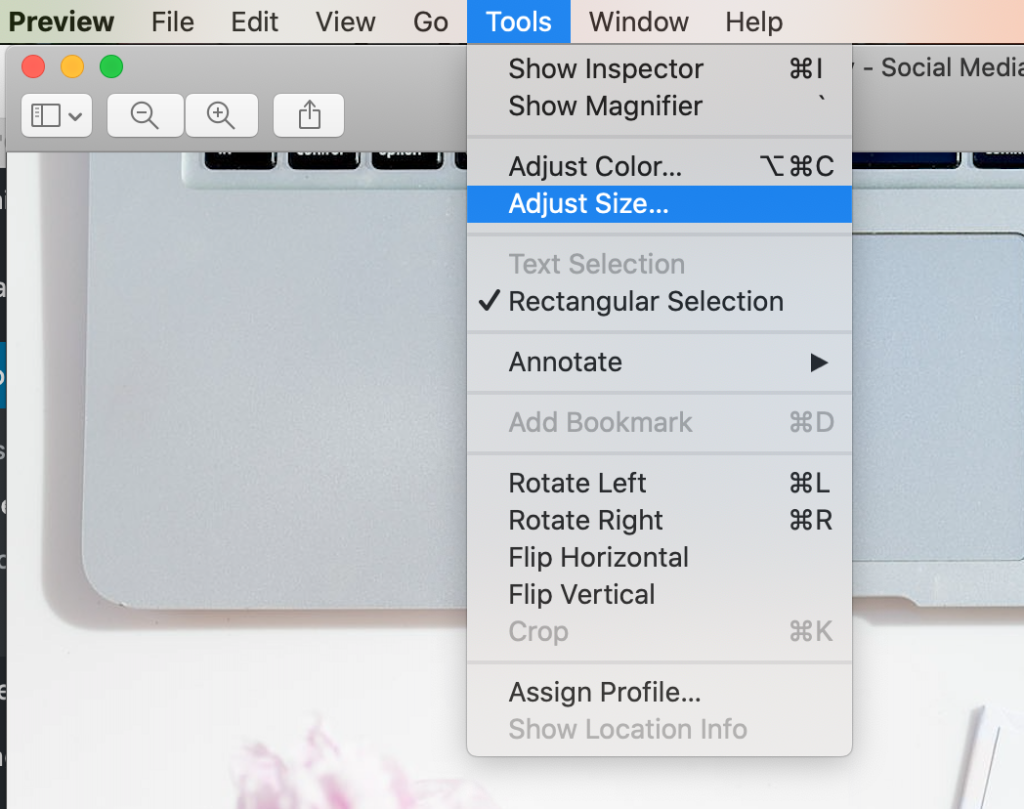
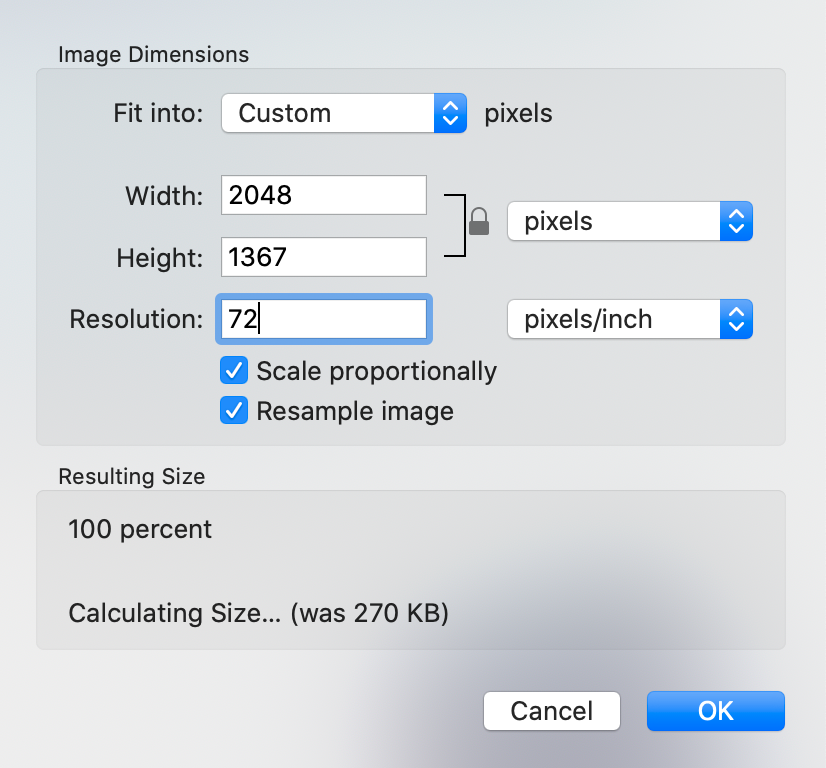
This is a great free option, but Preview will also degrade the quality of your image when resizing.
To resize your images without losing quality, I recommend using the following apps:
- JPEGMini – smushes your image file size without losing image quality.
- BlogStomp – resize your images and create collages.
These are both one-time purchase software downloads and are well-worth the money! In my blogging and website workflow, I first run the images through BlogStomp to resize them. Then, I run them through JPEGMini to reduce the file size.
If this is giving you a huge headache, don’t worry! This is something you could easily hand off to your web designer or VA.
Or, if you’ve booked a session with me, I take care of all of this for you! I now provide both the high resolution files for print and web resolution photos for your website & social media. 💫
Of course, there are infinite ways you could continue to optimize your images. But, I decided to focus on the 4 first steps that will get you 90% of the way there! To learn more about optimizing your website, check out SEO for Creatives.
Phew! That was a lot! Have any questions about image optimization? Drop them in the comments! 👇🏼


I was very much delighted to read your blog and it felt very informative to me. But I would like to add some more points for some extra information to your readers.
1.Compress images
2.Use appropriate file formats
3.Optimize image resolution
4.Implement lazy loading
5.Use responsive images
6.Use content delivery networks (CDNs)
These are some of the points I thought to be included. Having a non-technical background it was difficult for me to develop an optimized website but a company like Alakmalak Technologies helped me to build a high-quality website, you can also visit them if you are having the same problem.