Ah, December. 2020 is *finally* coming to a close. (Thank goodness, right?) 2021 beginning won’t magically make everything go away, but you know what will?
Holiday photos. At home. With your own backdrop that you made with your bare hands. Oh, and all of your props are from Dollar Tree.
This holiday season, I decided to embark on the adventure of crafting my own holiday photo backdrop using whatever I could find at Dollar Tree for $35.
The end result, my friend, exceeded my expectations. I mean, if I could do this much with $35 at Dollar Tree, imagine the possibilities if I went to Target next year with $70. 😂
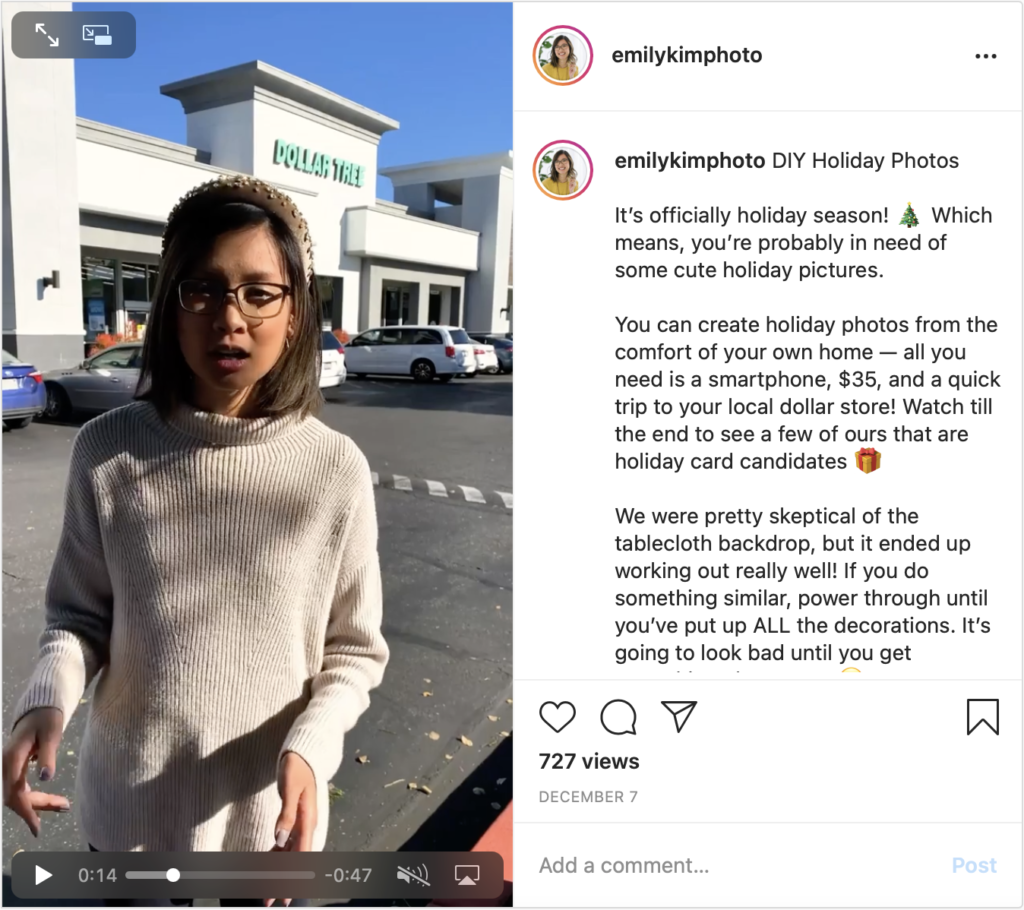
You can watch the 1-minute behind the scenes video on IGTV here. A HUGE MEGA SHOUTOUT to my friend Dave Tran, who orchestrated, filmed, and edited this video! He’s mega talented. Oh, and I can’t forget to mention that he filmed this using just an iPhone! 🤯
If you’re ever in need of wedding photos or video, check out his studio, Inspired By Studio. (Don’t worry – they don’t use iPhones for their professional work! 😉)
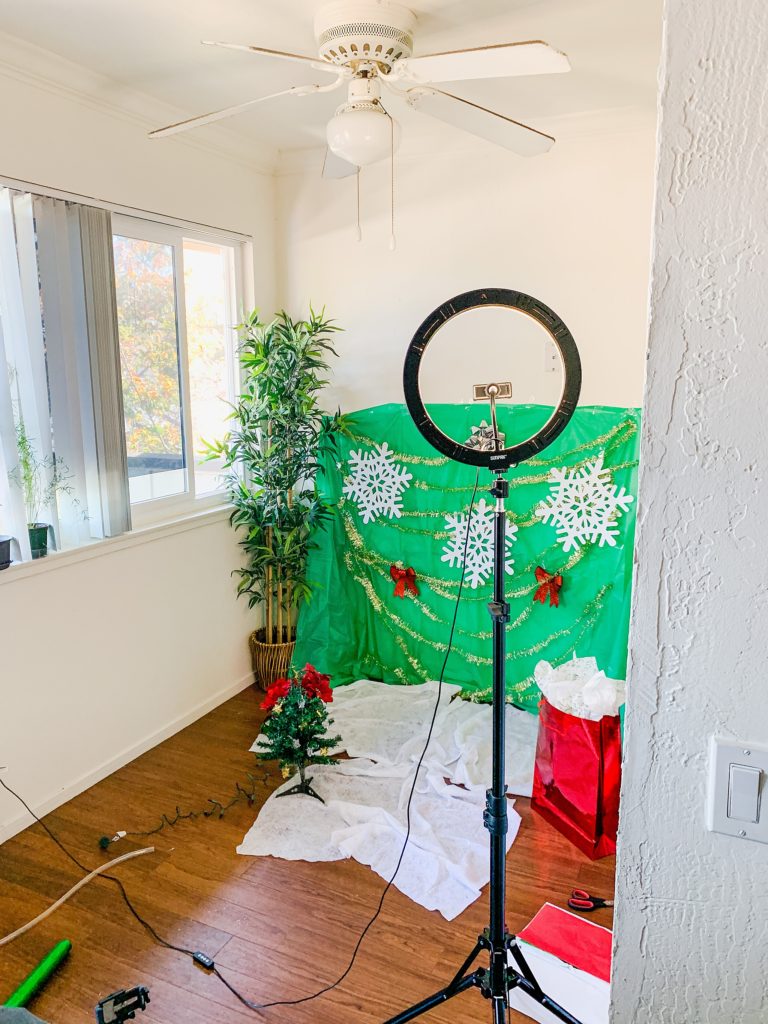
I set up this backdrop in my tiny apartment kitchen by moving our dining table. There’s a window camera left, and I set up my ring light on the right side to fill in some of the shadows. Trust me, if I can do this in my super small kitchen, so can you!
Tips for creating a photo backdrop
Fill the frame!
If you look at the photo below, you’ll see that there are a few things “spilling” out of the frame (aka, out of view): the gift bag, Christmas tree, and some of the golden tinsel. This helps the viewer imagine the scene expanding, which just adds a bit of oomph to your photos.
Use a colored backdrop
Alright, so the original plan was to use green, satin wrapping paper as the backdrop. Well, I didn’t buy enough. If you want to do that, buy two rolls! Luckily, I grabbed this green tablecloth as a backup! It looked pretty questionable at first, but after adding the tinsel, snowflakes, and bow, I think it really came together.
Have fun with it!
I mean, you’re spending $35 at Dollar Tree. We’re not really looking for a studio-grade luxury setup here – we’re just trying to have some fun! This can be a super fun project for the family, especially if you have the kiddos pick out some of the props.

Editing your photos
This wouldn’t be a photo tutorial if I didn’t include some editing tips, right? 😏 I use Lightroom Mobile by Adobe to edit all of my phone photos. It’s free!
Here is the original photo, pre-editing:

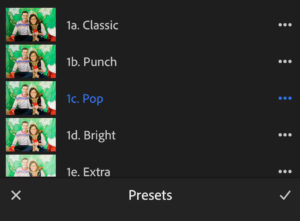
I used the Pop preset from my Vibrant Mobile Preset Pack as a base, then I made some additional tweaks for the bright greens and reds!
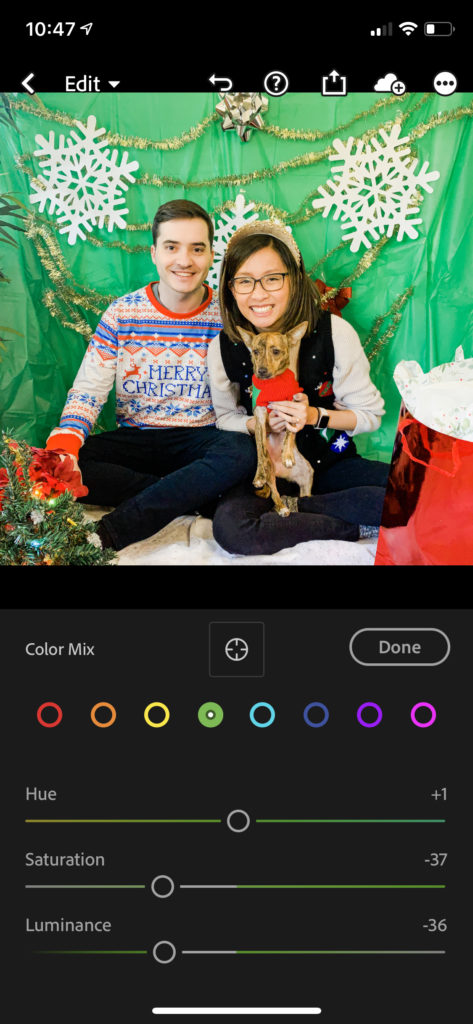
First, I went to Color > Mix and then made these adjustments to the greens: Hue +1, Saturation -37, Luminance -36
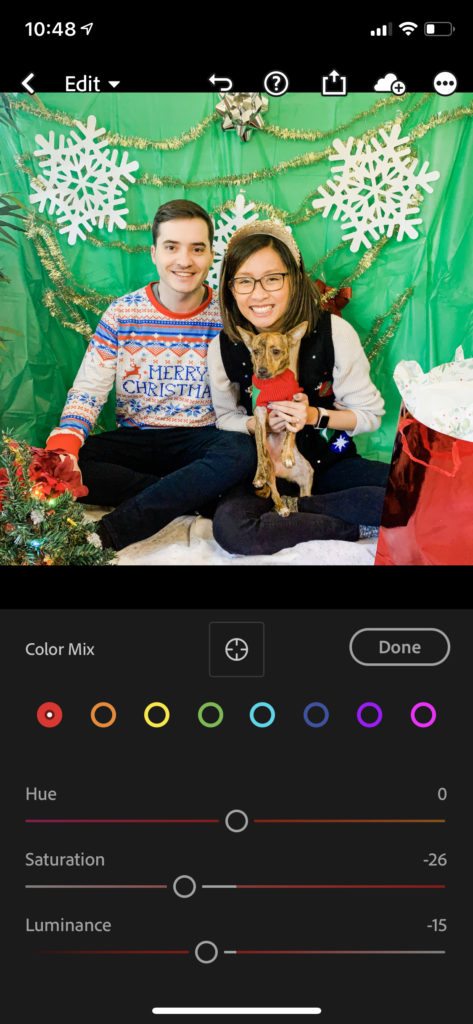
Then, I adjusted the reds: Saturation -26, Luminance -15
Finally, I went back to Color and decreased the Temperature: -5
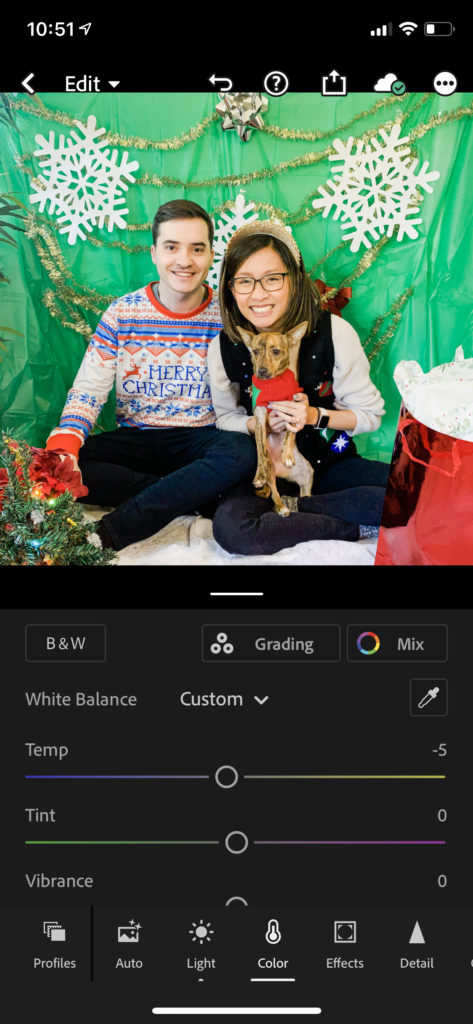
And there you have it! I hope you got a chuckle out of this, and maybe were even inspired to create your own holiday photos at home. If you do, I would LOVE to see them! Share them with me on Instagram – my handle is @emilykim.co.
I’m so excited to see what you create, and happy holidays! ❤️
Emily
Did you enjoy this post? Pin it!

Be the first to comment