Woohoo! We’re finally at the end of our Indoor Lighting 101 journey. Today, I’m teaching you the basics of how to edit indoor photos like in the Lightroom Mobile app like the pros. If you’ve always wondered how to get the light, bright, and vibrant look – read on!
Part 1: How to find & manipulate natural light
Part 2: Get a natural light look without natural light
Part 3: How to edit bad light (you’re here!)


Before we start
Remember: editing and presets are not a solution to a bad photo – it’s an enhancement. You want to get your shot as close to perfect as you can in camera. If you ever look at a photo with bad lighting and think, “oh, I’ll just fix it in post” – that’s a duct tape fix. Not only will getting it right in camera save you a whole lotta time editing, but you’ll also end up with a better, cleaner end result.
That’s not to say that you can’t rely on editing to add your own personal touch to photos – I do this! What I mean is, you want to nail your lighting in camera. Lighting is something you really can’t fix in post. If you take a photo with bad lighting, it sticks. Unless you’re doing some hardcore photoshopping, you aren’t going to end up with a great end result.
The Basic Branding Preset
All of the below photos are edited using the EKP Basic Branding Preset. You can definitely follow along the tutorial without the preset, but if you want to have a similar end result with the vibrant/contrasty look, you’ll want to download the free preset!
Get your FREE copy of the EKP Basic Branding Preset
The Editing Tutorial
Before and Afters
All of the photos below are edited using the free EKP Basic Branding Preset.
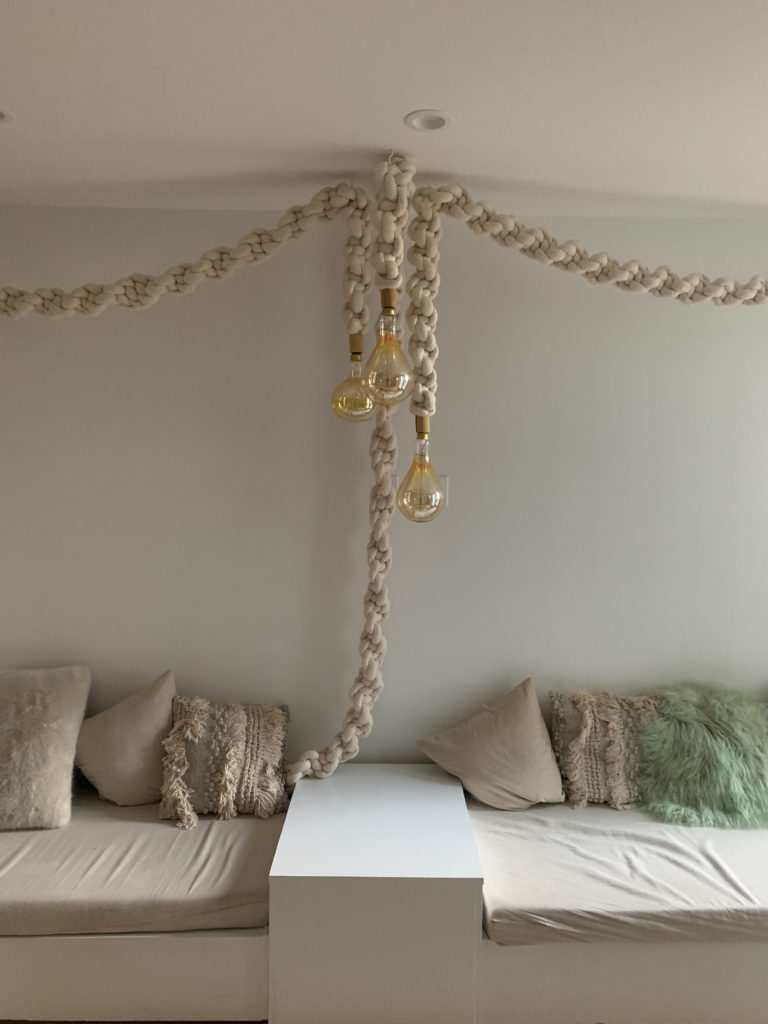

Photo by me, taken at Mission Loft
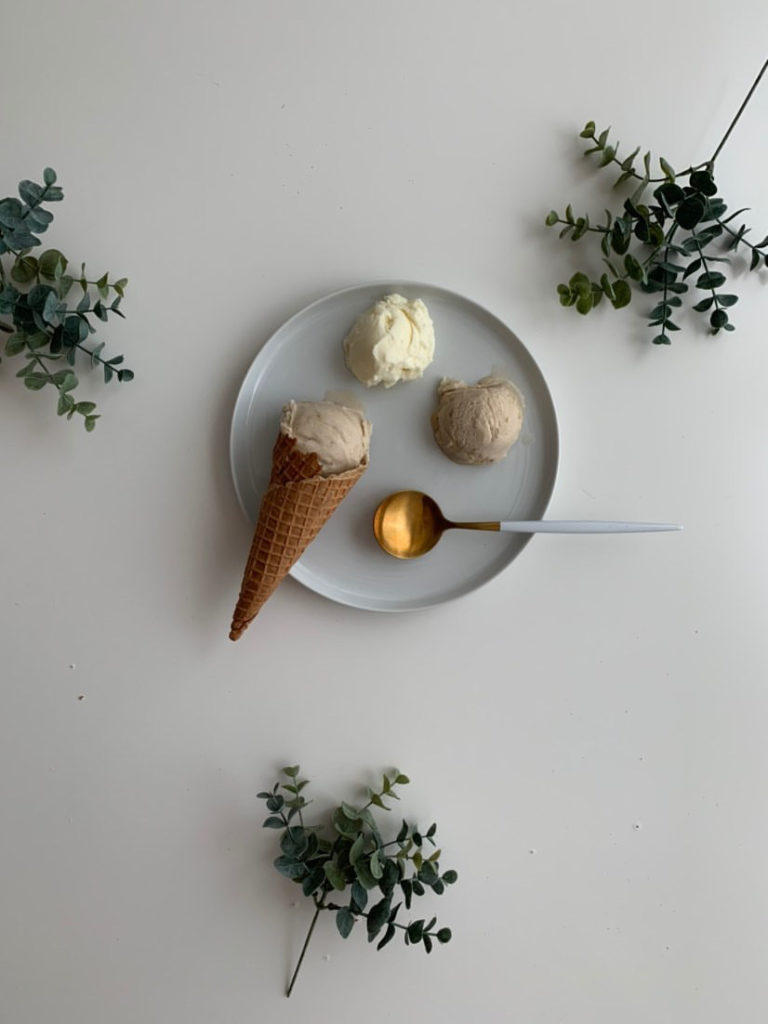
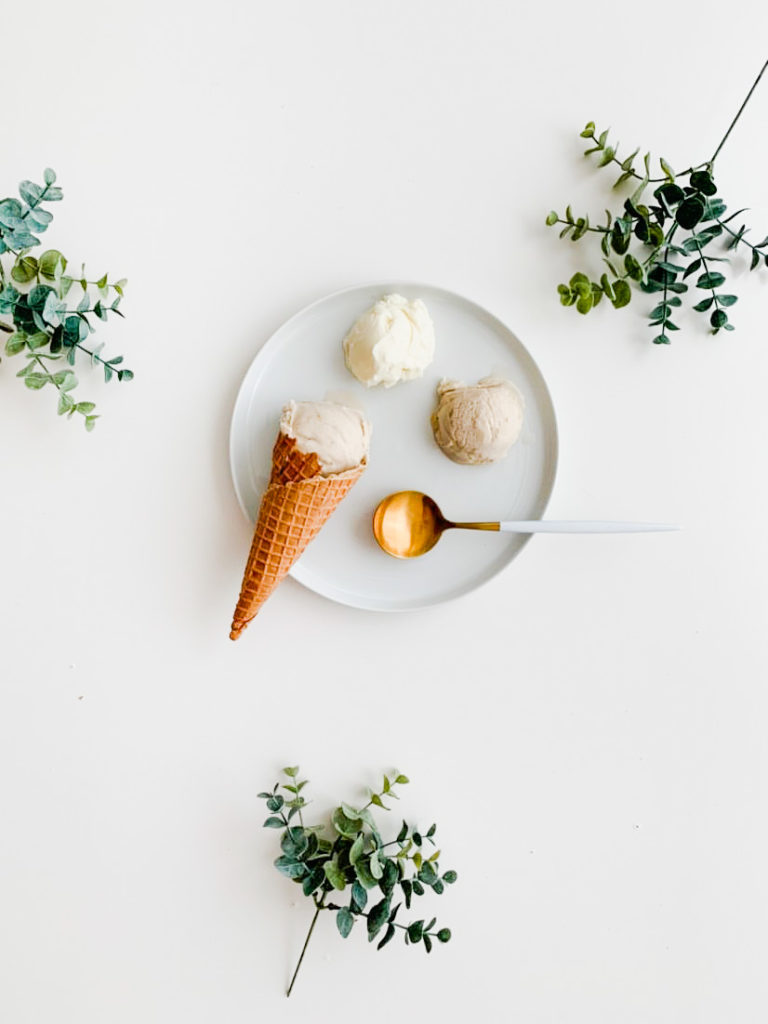
Submitted by @allies_table
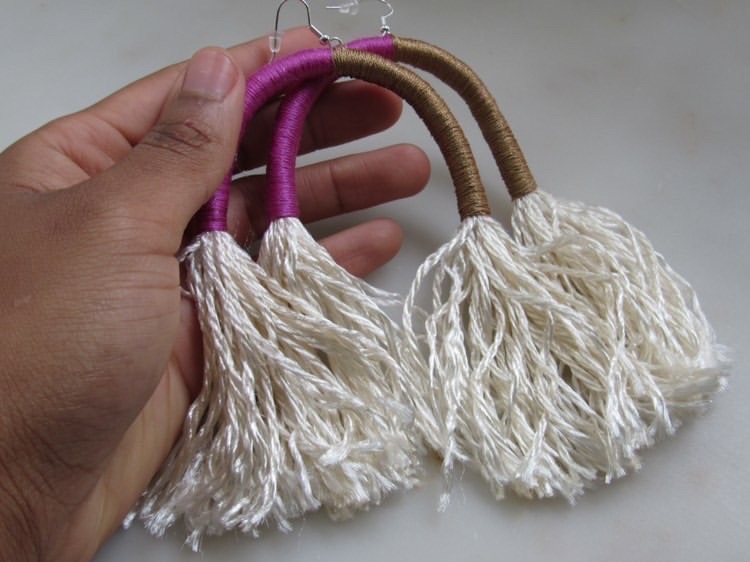

Submitted by @firebird.wearables
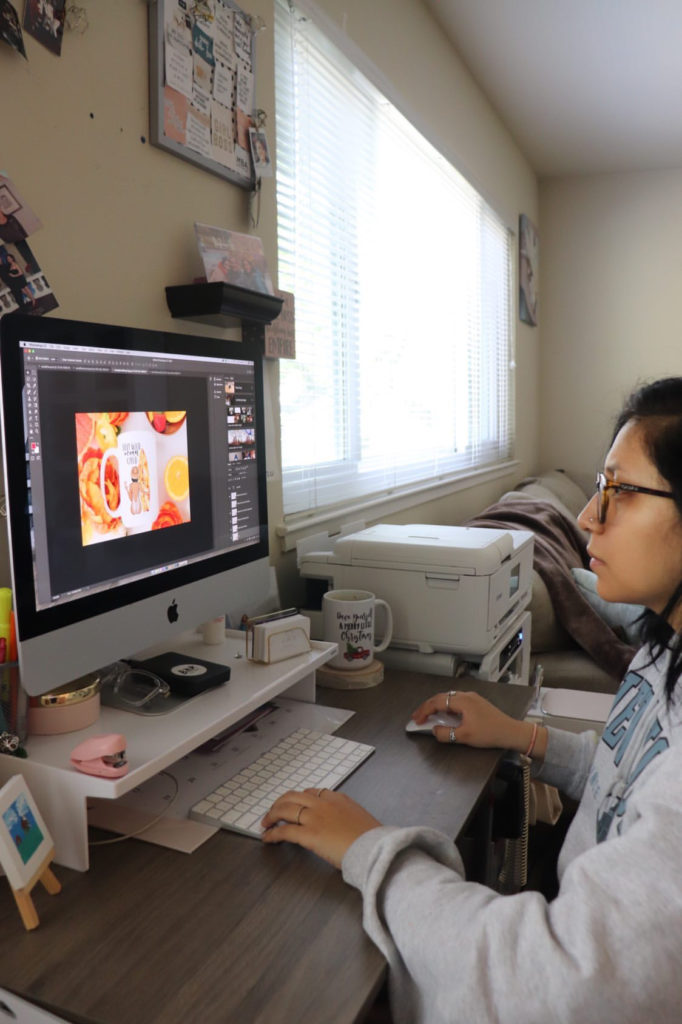
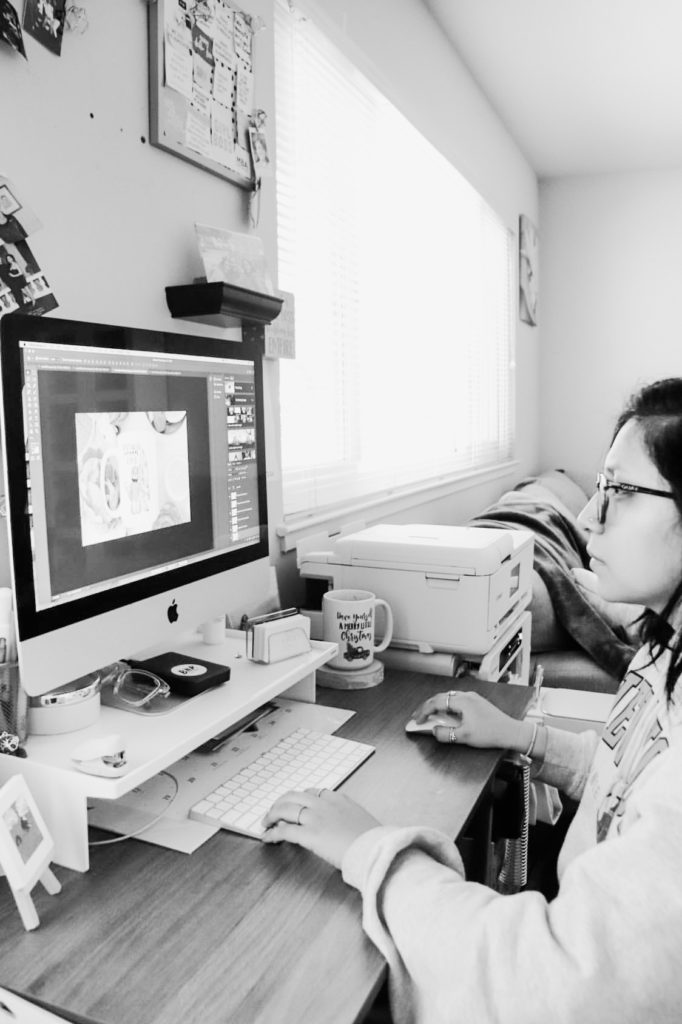
Submitted by @mariguadalupeco
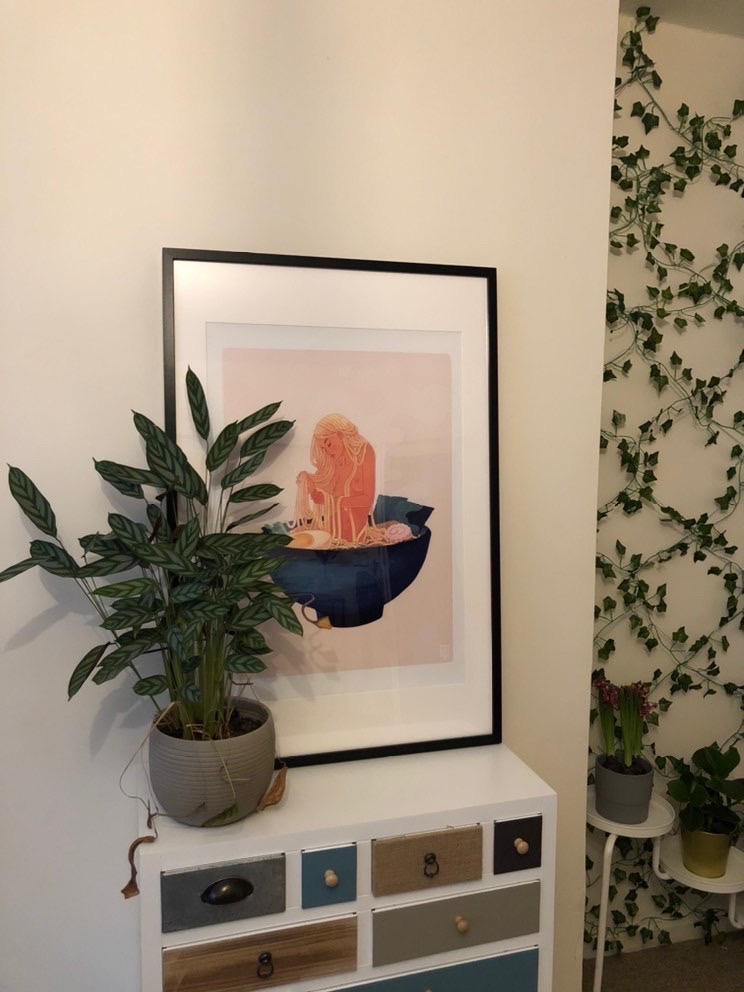
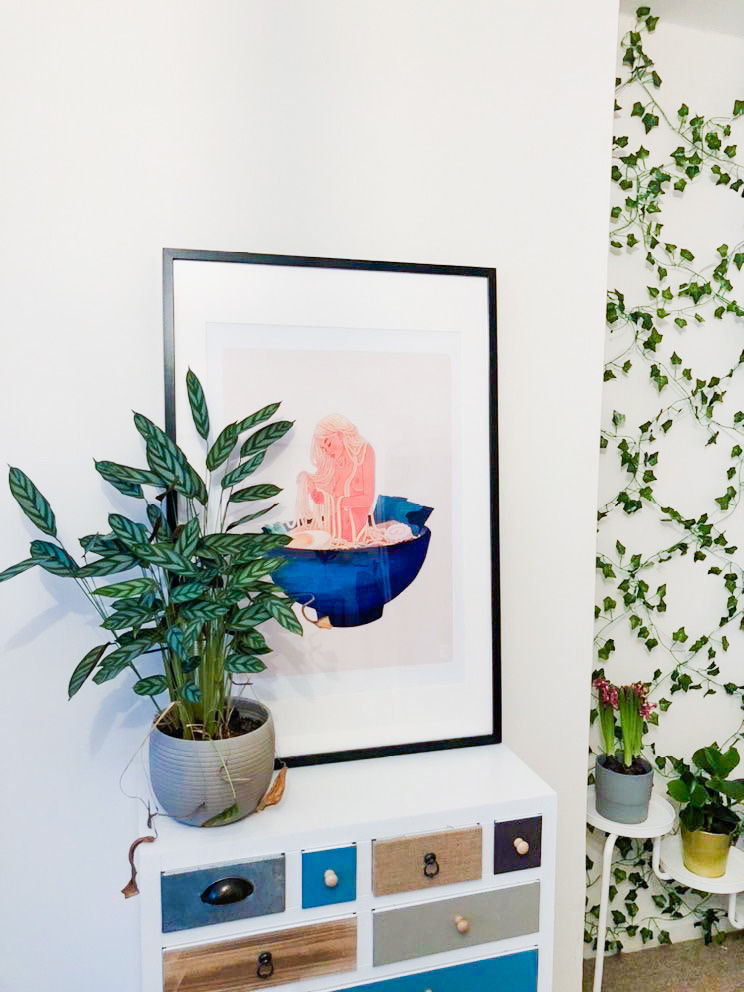
Submitted by @murmvrs
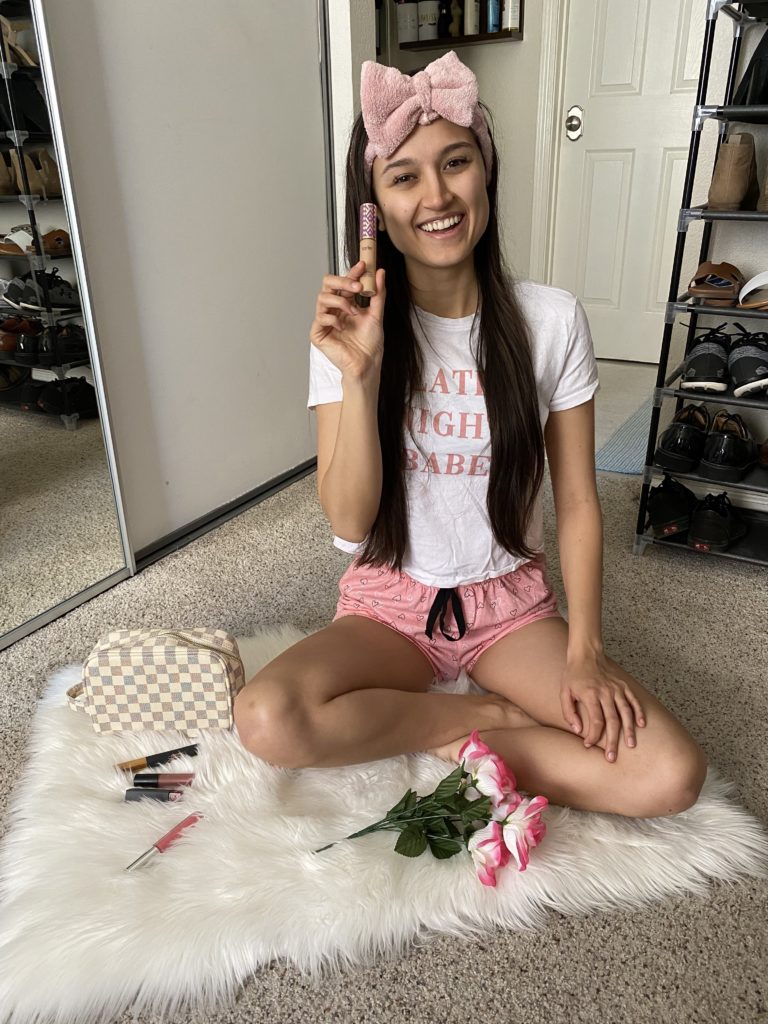
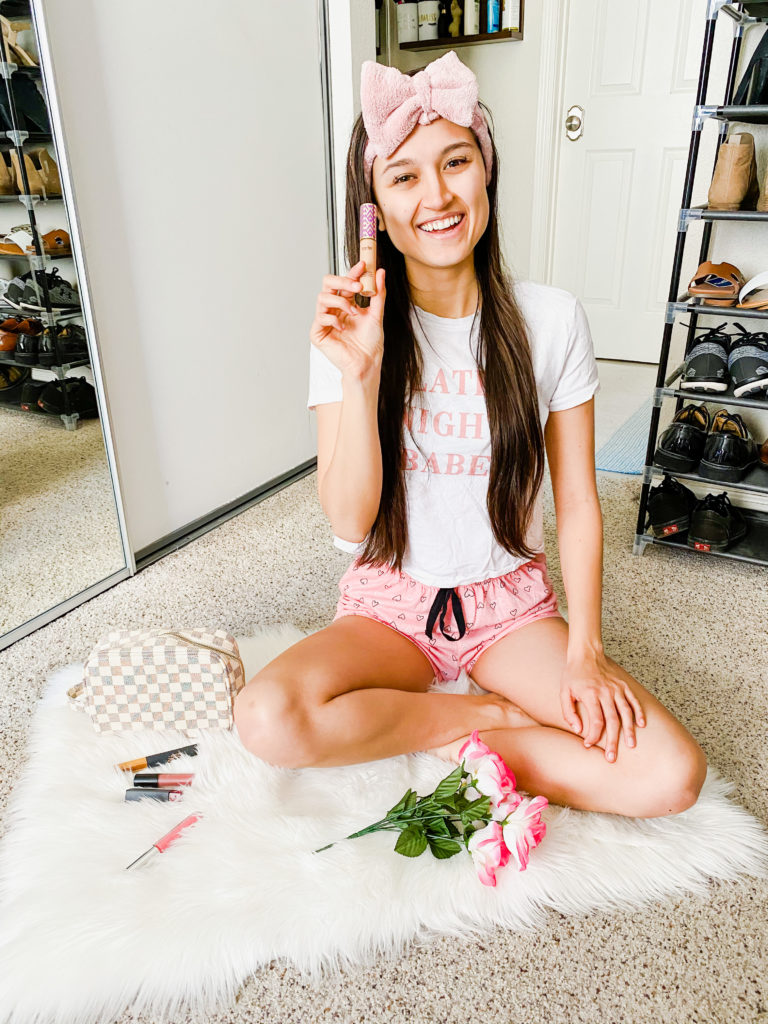
Submitted by @soniabegoniablog
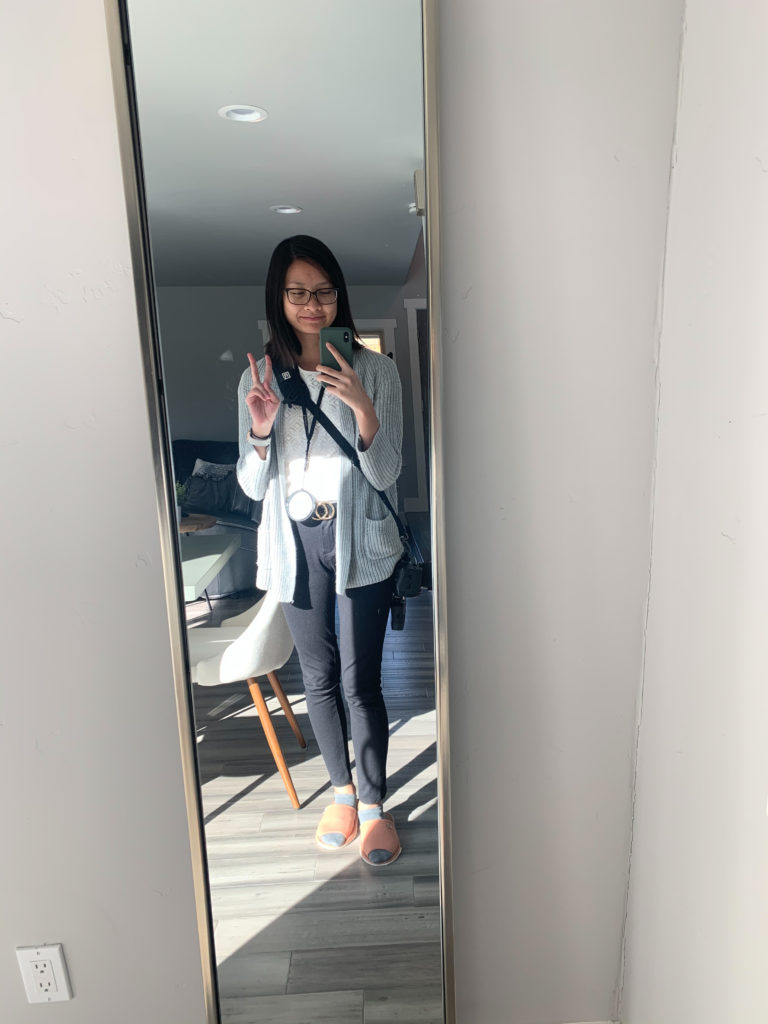
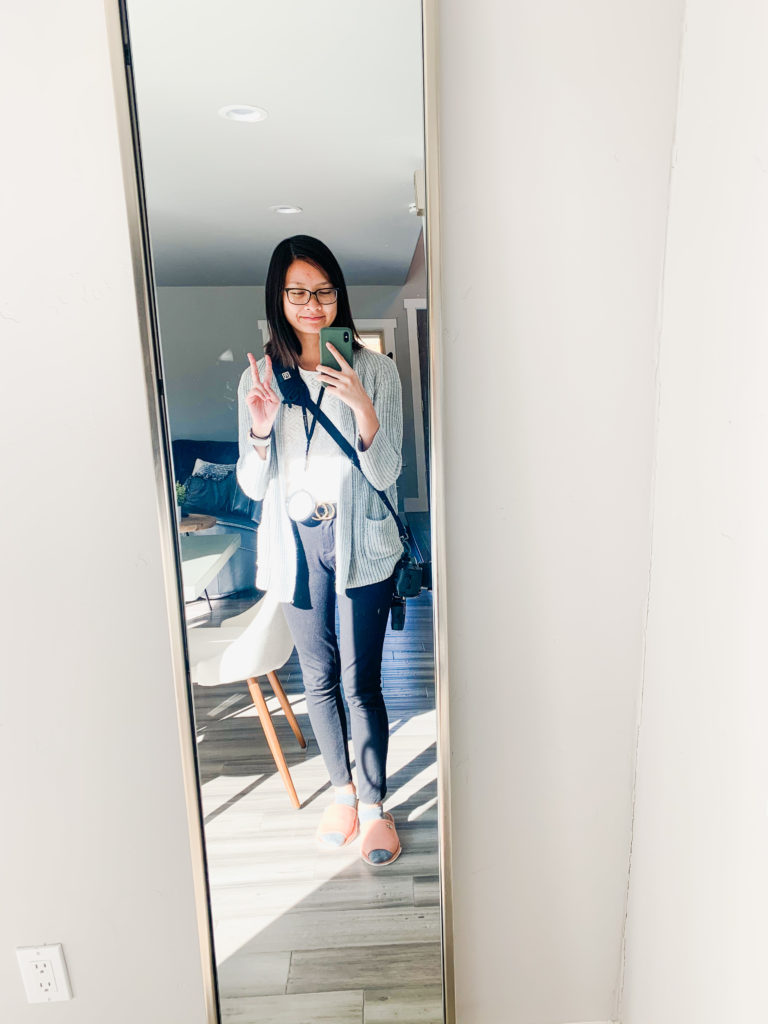
I hope you all have enjoyed this tutorial series! If you have any lingering questions, feel free to leave them in the comments below. If there’s anything else you’d like to learn about business or photography, let me know! See you on the flippity flip! ✌🏼
[…] Part 1: How to find & manipulate natural light Part 2: How to get a natural light look without natural light (you’re here!)Part 3: How to edit bad light […]